This is one you don't want to miss. Anyone who enjoys 3D may get a kick out of this one.
As you all know, I released an early version of this tutorial and technique, but since then, it has blossomed into something wonderful I can now share with you. While this method is not perfect, it is definitely built for speed.
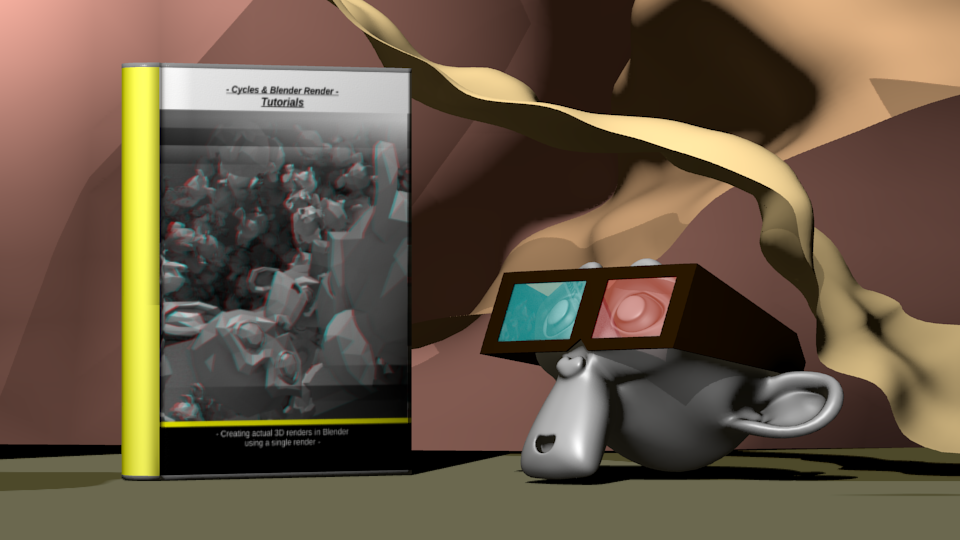
And yes, it is only done with a single frame's render (not rendering two angles with two cameras). This is the image at the back of this tutorial to show what the effect will do when applied to an existing scene:
PS, I am not aware of any royalties for using anaglyph or stereograms in this way (I have searched online for it), so if there is an issue with this being published, use the contact page and send me a link and I'll check it out. I'm not out to step on toes, only to obey GOD.
For a few examples on this new version, see this blog post.